
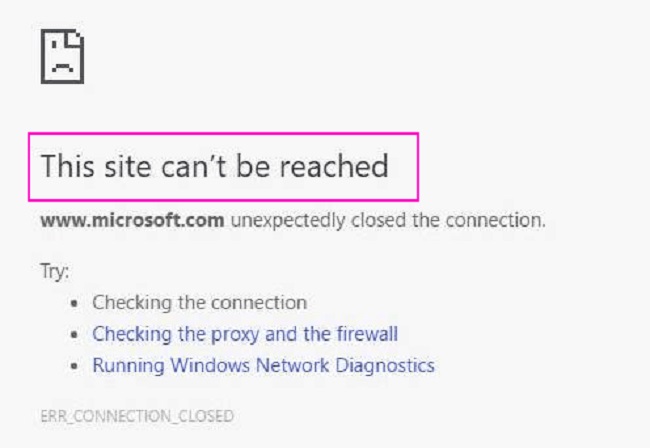
The This Site Can’t Be Reached issue is one of the most common Google Chrome errors. Don’t be concerned! This article explicitly addresses the This Site Can’t Be Reached error. There are numerous explanations for this.
The error ‘this site cannot be reached’ might be caused by a variety of factors. Here are a few examples: DNS server that isn’t responding. Unsuitable TLS version, etc., due to an out-of-date Google Chrome browser.
Take a look at these seven quick methods that are worth a shot.
How to Fix Chrome’s This Site Cannot Be Reached Error?
Take a look.
Read Also:
1. Clear Your Chrome Browser’s History
To restore your Chrome browser’s default settings, follow the steps below:
Step 1: To begin, right-click on the Google Chrome shortcut key and select “Run as administrator.”
Step 2: In the address box, type ‘chrome:/flags’ and hit Enter.
Step 3: Finally, select ‘Reset all to default’ and restart your computer.
Re-check for the error. If the error “this site cannot be reached” persists, try the net approach.
2. Changing the Maximum TLS Version Allowed
To alter the maximum TLS version that can be used, follow the steps below:
Step 1: To begin, right-click on the Google Chrome browser shortcut and select “run as administrator.”
Step 2: In the address bar, type “chrome:/flags.”
Step 3: Locate the ‘Maximum TLS version:enabled’ drop-down option at the bottom of the page. Then choose ‘TLS 1.3’ as the version. Restart your Chrome browser in step four.
Re-check for the error. If the error “this site cannot be reached” persists, try the following method.
3. Disable the QUIC Protocol Experiment
By lowering connection and transit latency, the Quick UDP Internet Connection (QUIC) serves to provide security protection to TLS and SSL. To disable the experimental QUIC protocol, follow the steps below:
Step 1: To begin, right-click on the Google Chrome browser shortcut and select “run as administrator.”
Step 2: In the address bar, type “chrome:/flags.”
Step 3: Scroll to the bottom and look for ‘Experimental QUIC Protocol.’ You’ll notice that it’s set to ‘default’ along the side; alter it to ‘disabled’. Restart your Chrome browser in step four.
Re-check for the error. If the error “this site cannot be reached” persists, try the following method.
4. Reset the TCP/IP Stack
TCP/IP may be unable to establish proper contact with web pages over the internet at times. Resetting it is the most obvious remedy in this circumstance. To reset the TCP/IP stack, follow the steps below:
Step 1: To begin, press the ‘Windows’ key and ‘X’ together to bring up the command prompt.
Step 2: Next, select ‘Command Prompt (Admin)’ from the drop-down menu.
Step 3: In the command prompt, type the following commands one by one, pressing enter after each one:
netsh int ip set dns ipconfig /release ipconfig /all ipconfig /flushdns ipconfig /renew
reset winsock netsh
Step 4: Shut down and restart your computer.
Check to see if the problem is still present. If the problem “This Site Cannot Be Reached” appears again, try the next technique.
5. Restart DNS Client
The DNS client can sometimes be the source of the problem. In this scenario, restarting your DNS Client may be able to assist you in resolving the problem.
To restart DNS client, follow the steps below:
Step 1: Go to the Start Menu and type’services’ into the search box.
Step 2: Right-click ‘Services’ and select ‘Run as Administrator’ from the context menu.
Step 3: Select ‘Restart’ from the left panel after finding ‘DNS Client’ in the list.
Step 4: Last but not least, restart your computer.
Check to see whether the error persists. If the “This Site Can’t Be Reached” issue persists, proceed to the next step.
6. Change Your IPV4 DNS Address
To modify your IPv4 DNS address, follow the steps below:
Step 1: Right-click on the ‘Network’ icon in the Task Bar and select Properties.
Step 2: Select ‘Open Network and Sharing Center,’ then select ‘Network Connections.’
Step 3: From the drop-down menu, select ‘properties.’
Step 4: Next, double-click the ‘Internet Protocol Version 4 (TCP/IPv4)’ option and type in the following information.
8.8.8.8\s8.8.4.4
is the new IP for Google’s public DNS server
Step 5: Finally, click OK after checking ‘Validate settings upon leave.’
Re-check for the error. If the error ‘this site cannot be reached’ persists, try the following method.
7. Remove Chrome
To reinstall Chrome, follow the steps below:
Step 1: To enter the run command dialogue box, press the “Windows” key and “R” at the same time.
Step 2: Then, in the run command dialogue box, type “Control” panel to open the control panel, or manually open it.
Step 3: Locate and select the “Uninstall a Program” option.
Step 4: Go to C:Users% your name% AppDataLocalGoogle and erase everything inside it. Then, via the official Google Chrome website, reinstall the browser.
Launch the Google Chrome browser that you just installed. The error “This Site Can’t Be Reached” is unlikely to appear again.
Read Also:
Conclusion
Hopefully, one of the above solutions will resolve the “This Site Can’t Be Reached” issue. You can resume your error-free browsing.


